


In most areas, a concrete patio begins with 4 inches of compacted stone. The difference is the depth you dig before you pour.
Concrete Porches
Photo copyright Strategic Homes Group, Inc.
Installation Guide
If you install a concrete patio, dig out a space 8 inches deep; 4 inches for the some, another 4 inches for the concrete, and another 2 inches to allow for mortar and brick.
The patio must slope away from the house at a rate of 1/8 to ¼ inch per foot-check local code for the proper rate.
On sides too long for a single board, butt two boards together. Cut a strip of ½-inch plywood and nail it across the joint. Drive a 2-stake at each end of the plywood strip and nail it to the form with duplex nails.
Place a 1/2×4-inch expansion joint against the foundation of the house and any other existing concrete that meets the patio. This will prevent the pad and foundation from bonding and then cracking if they settle at different rates.
Coat the form boards with a coat of commercial release agent or vegetable oil to prevent the concrete from sticking to the form boards, motor oil an early substitute for the release agent doesn’t work as well and contaminates the ground.
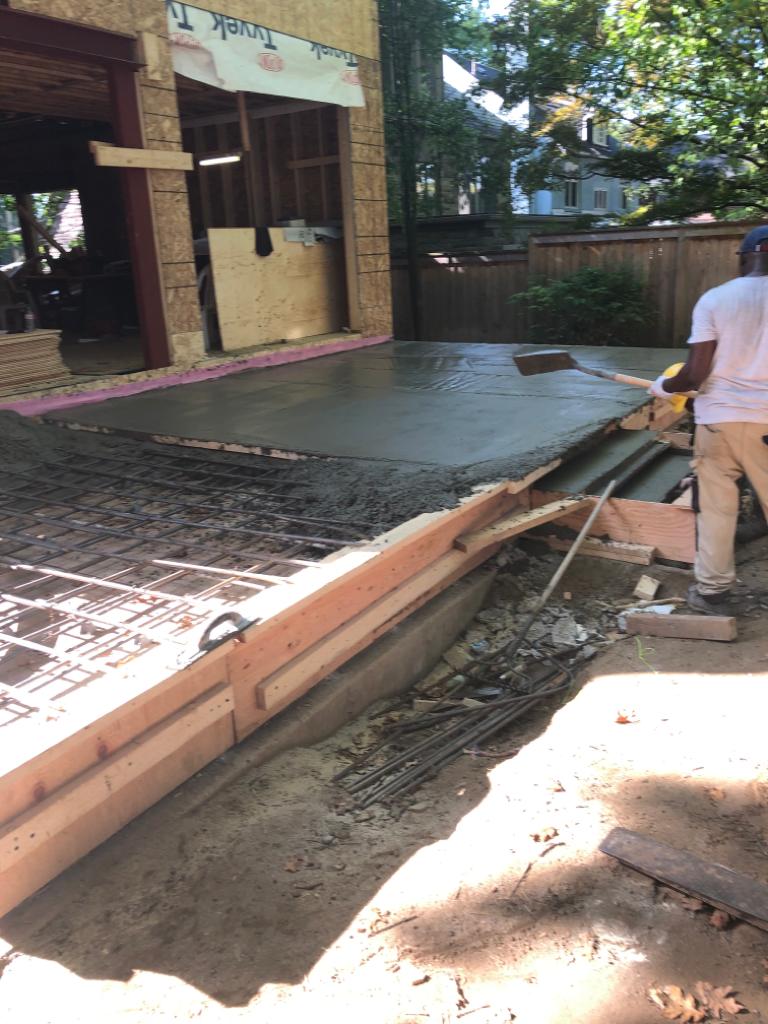
Install 15mm rebars in mesh form for reinforcements.
pull a screed (a long, straight 2×4) across the forms to level the concrete. Tilt the screed forward and slide it from side to side as you push it forward. Shovel off excess concrete in front of the screed or fill in low spots.
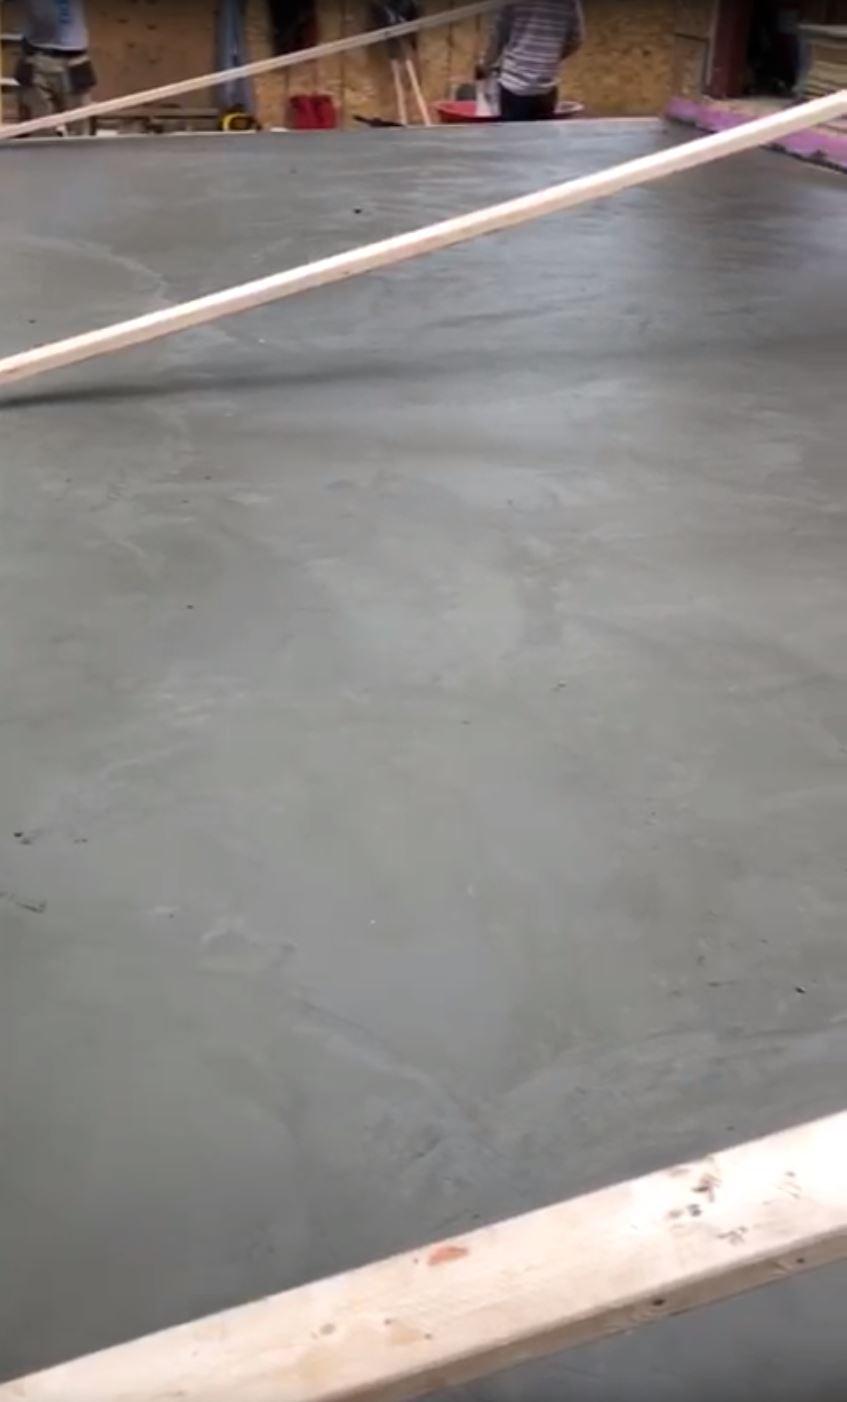
Make a second pass with the screed tilted the opposite direction. Work a bull float back and forth with the blade flat against the surface to smooth and compact the concrete. For small surfaces use a darby instead of a bull float. Work the concrete until water forms on the surface.
When you’ve finished floating, separate the concrete from the forms by running the tip of a pointing trowel between the two. Then slide the cutting edge of an edger along the forms to round over the patio edge, making it less likely to chip. Lift the leading edge of the tool to avoid marring the concrete.
Cut sallow grooves, called control joints, in the wet cement pad. These weaken the spots a little so that if the ground shifts, the resulting crack should form along the control joint. You need a joint every 8 feet, so make marks every 8 feet along the forms.
“We specialize in every single aspect of concrete…”
-Raj
Endless Pursuit of Perfection!
Photo copyright Strategic Homes Group, Inc.
Some more installation info
Place a jointer at each mark. Guide the jointer against a board that spans the patio. Control joints can also be cut after the concrete has cured using a circular saw with a cement or masonry blade.
After cutting the control joints, and when any water sheen has left the surface, run a wood or magnesium hand float over the surface to proved a final smoothing. Raise the leading edge of the float slightly as you work to avoid making likes on the surface of the concrete.
For improved traction, pull a stiff-bristle broom across the surface. Draw the broom in either straight or wavy lines. If you don’t like the pattern or if it is too coarse, trowel, wit, and broom again.The longer the concrete dries, the finer the broomed surface. Make another pass along the perimeter with the edger.
Lay plastic sheeting over the finished surface. The moisture trapped inside eliminates the need for watering during the curing stage. Let the concrete cure at least 48 hours, then remove the form boards.