


Following are reasons for getting water proofing done for your basement:
Eliminate water seepage, Eliminate moisture in a basement and stop mould, musty odors and other allergies. To preserve the structural integrity of your foundation and eliminate deterioration of your foundation walls. Save thousands of dollars in expensive foundation repairs. Reinforce your foundation as water can weaken the footings and cause settlement of your home.
Leave it to the Pro’s!
Photo copyright Strategic Homes Group, Inc.
Benefits of Waterproofing
Waterproofing of your basement becomes necessary when the foundation starts to leak or let moisture through, allowing mould.
Foundations leaks allow water to enter into the basemen for numerous reasons, most common factors are; congested weeping tile system, where the weeping tile can longer flow due a blockage of debris, soils or tree roots. Horizontal or vertical cracks in the foundation, or separation of concrete foundation blocks, voids where the foundation and footing meet. Many foundations were never waterproofed properly during the construction process, particularly older buildings.
Strategic Homes Group Inc has been waterproofing foundations for over 18 years, and is one of the longest running basement waterproofing companies in Toronto and the surrounding area. With our experience and professionalism we have numerous references. We provide the best of materials and procedures to waterproof any type of foundation.
“Strategic Homes Group Inc is fully insured and happy to provide customer references.”
-Raj
Exterior Waterproofing
Waterproofing your basement from the exterior is highly recommended because this stops water from entering the basement through the foundation therefore preserving the structural integrity of your foundation walls. Exterior Waterproofing Procedures:
-
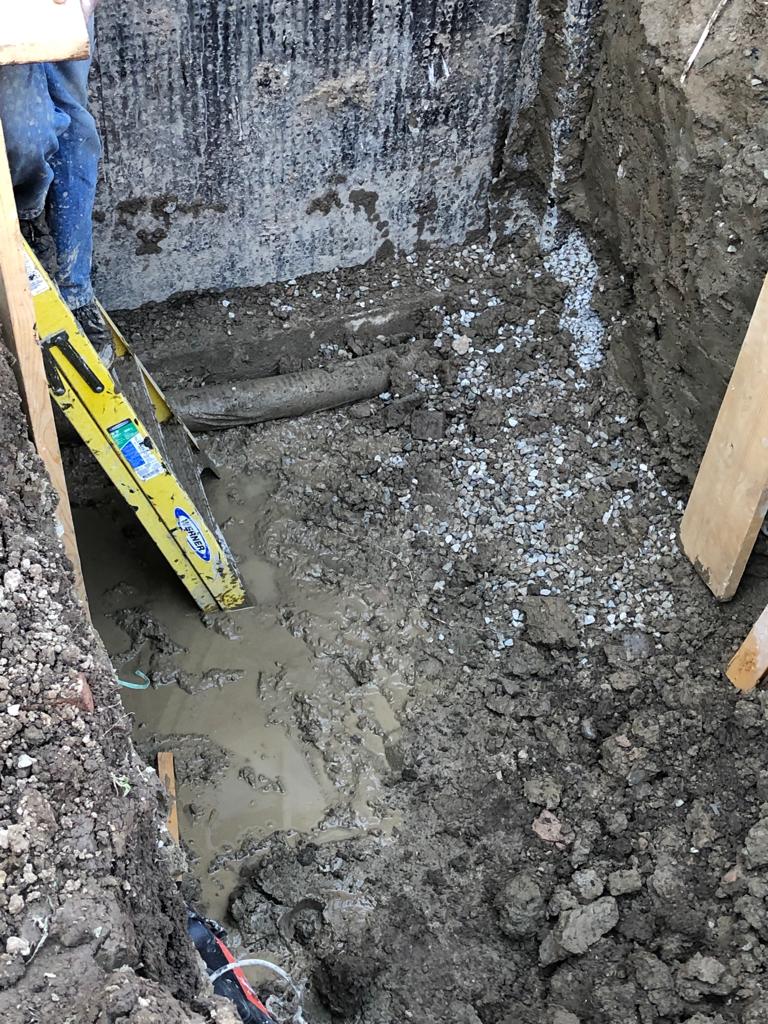
- Excavate the perimeter of the foundation walls. The excavation depth depends on the elevation of your property so therefore most excavations are from 5 to 8 feet deep and approximately 4’ ft wide. Deeper foundations than 8 feet will require additional shoring and the excavation to be stepped back to greater widths to prevent cave ins.
- Once the excavation is finished, we install shoring to insure the safety of our crew and to prevent any soil from caving inwards.
- Excavating depth is to the bottom of the footing level where the old weeping tiles are removed and disposed.
- We install continuous 4 inch weeping tile with filter cloth.
- Foundation walls are then cleaned of dirt and inspected for any voids or cracks.
- All areas with cracks and voids are chiselled out and repaired with expandable hydraulic cement. Some foundations are poured concrete, cement blocks or bricks. If the surface is rough and does not have a smooth surface to install water membrane, we apply cement parging.
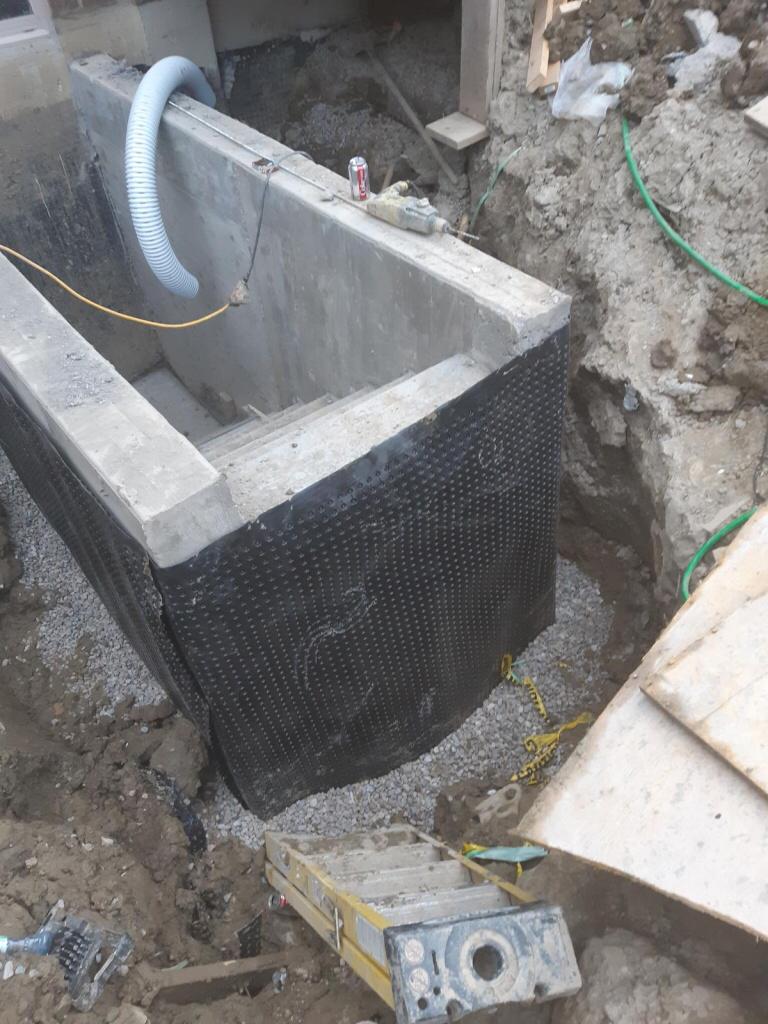
- We apply primer then rubber membrane which are three foot wide sheets, with a min. 6” overlap. It will not dry up and crack, like a typical trowel on membrane. The rubber membrane has enough flexibility to allow the product to expand and contract in case of further settlement of your foundation.
- Install drainage membrane which is fastened to the top with a termination bar, this membrane creates a void between the rubber membrane and the soil which is backfilled.
- ¾ Clear gravel is placed over the weeping tile to allow better drainage into the weeping tiles.
- In case of windows installed below grade we install window wells. We will either custom make from pressure treated wood or install a pre-cast stainless steel window well. A 4 inch vertical drain, weeping tile is installed to the footings. The window well is filled with ¾ clear stone in allow water to drain directly into the weeping tile system.
- Last stage is to backfill with native soil and compact in 12” lifts to its original level. The soil is graded away from the property to allow water to drain away.
Interior Waterproofing
Interior waterproofing system is used when the exterior foundation wall is not accessible. Secondly if exterior waterproofing is not in your budget. Therefore interior waterproofing can be quick solution to leaks caused by foundation cracks.
You Need Us On Your Side!
Photo copyright Strategic Homes Group, Inc.
Steps for Interior waterproofing:
- The concrete floor is excavated and disposed along the perimeter of the foundation wall approx. 10” away from the interior basement wall.
- Excavate trenches to accommodate 4-inch perforated weeping tile with filter screening.
- The weeping tile is installed and connected to a floor drain or a sump pump.
- Then a dimpled board of drainage membrane is installed along the interior of the basement wall 6” above grade level.
- A layer of ¾ clear gravel is installed over the weeping tile to create maximum drainage to the tile.
- Once the membrane and gravel is in place, it will allow any water from above grade or below grade to drain to the weeping tile and into the floor drain or sump pump.
- A new layer of concrete is installed over the trench with a trowel finish, matching the existing cement floor level.